New World Hutt City has been a fixture on Bloomfield Terrace for years, and whether you’re filling the car or filling the trolley, it offers a mix of convenience and community ownership. Located at the corner of Waterloo Road and Bloomfield Terrace (New World Hutt City official page), it’s open 7am to 10pm daily. Here’s a fact-based look at what makes it tick—and where it might cost you a bit more than the discount alternative down the road.
New World Hutt City store: locally owned and operated in Lower Hutt ·
Online shopping available: 24/7 with delivery or click & collect ·
Fuel station: attached to the store ·
Number of New World stores in NZ: over 140 ·
Owned by: Foodstuffs North Island co‑operative
Quick snapshot
- Open 7:00am–10:00pm, seven days a week (New World Hutt City)
- Online shopping with delivery or click & collect available (New World Hutt City)
- Fuel station on site (New World Hutt City)
- Independently owned franchise under Foodstuffs North Island (Wikipedia – New World supermarket chain)
- Exact fuel price at any given moment (fluctuates daily)
- Which supermarket will be cheapest in 2026 – no firm prediction
- Exact delivery radius and fees – may change over time
- In December 2016 owners Steve and Sarah Williams built a pop‑up supermarket during a temporary closure (Supermarket News – industry trade publication)
- Fuel discounts and online shopping continue as core offerings
- Clubcard loyalty program likely to see more integration
- Prices will remain competitive with local rivals, driven by weekly specials
The following table summarises the key facts about New World Hutt City.
| Store name | New World Hutt City |
|---|---|
| Location | Lower Hutt, Wellington region |
| Owner type | Locally owned franchise |
| Online shopping | Yes, 24/7 with delivery and click & collect |
| Fuel station | Yes, with competitive prices |
| Parent co‑operative | Foodstuffs North Island |
Is New World expensive in NZ?
How does New World Hutt City compare to Pak’nSave and Countdown?
- New World is positioned as a mid‑to‑premium supermarket, often pricier than Pak’nSave on core basket items (MoneyHub – NZ consumer finance guide)
- Countdown (now Woolworths) typically sits between the two but offers more frequent loyalty discounts
- New World Hutt City runs weekly specials that can match discount chains on select items – e.g., lamb leg roasts, carrots, and apples (New World weekly specials)
Local competition keeps prices in check. Shoppers willing to chase specials can save significantly; those filling a standard weekly shop without scouring deals will pay a premium at New World compared to Pak’nSave Lower Hutt. The implication: if you prioritise fresh meat and deli quality over price, New World Hutt City may be worth the extra few dollars.
What factors influence grocery prices at New World?
Several forces come into play: wholesale costs from suppliers, the store’s local ownership (which can negotiate independently), and the parent co‑operative’s buying power. According to MoneyHub, New World has a flat delivery fee structure – $15 for orders under $200 and $10 for orders over $200 (MoneyHub), which adds to the total cost.
Which NZ supermarket has the cheapest groceries in 2026?
Projected trends for grocery prices in New Zealand
Historical pricing patterns show Pak’nSave consistently delivers the lowest basket prices across New Zealand (MoneyHub). Consumer NZ research supports this, noting that discount banners keep margins thin. However, no firm data exists for 2026 – any prediction rests on current trends, including rising supplier costs and potential regulatory changes.
How does New World Hutt City factor into future cost scenarios?
If New World holds its mid‑tier pricing strategy, it will remain more expensive than Pak’nSave but may stay competitive with Countdown. The store’s local ownership allows flexibility in promotions – something corporate chains can’t match as quickly. The pattern: loyalty programs and fuel tie‑ins become more important as baseline prices rise.
Grocery inflation is slowing but still above pre‑2020 levels. New World Hutt City’s pricing strategy will depend on how aggressively the Williams family (the local owners) chase market share against Pak’nSave Lower Hutt.
What is the price of petrol in New World Hutt City?
Current fuel prices at New World Hutt City
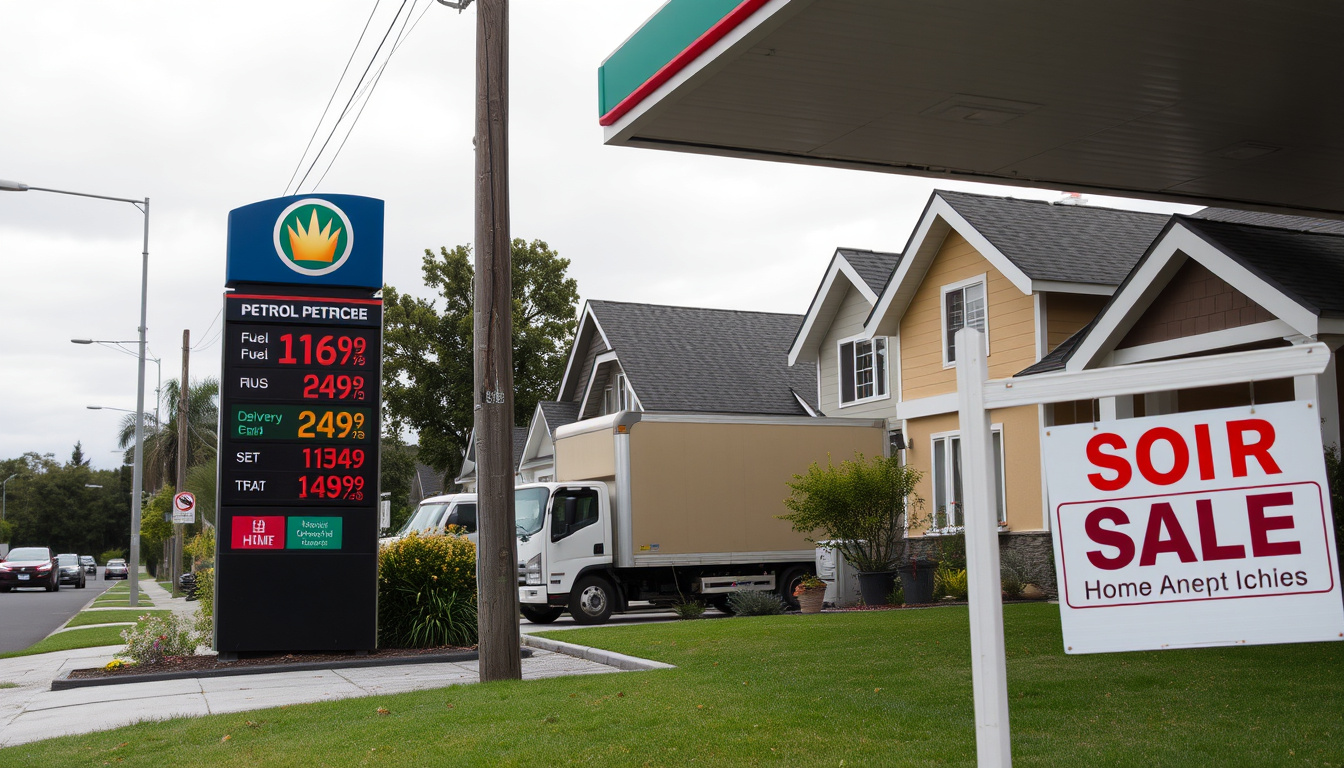
New World Hutt City operates its own fuel station. Prices change frequently – a Reddit user described it as “the cheapest in town for years” (Reddit r/newzealand – user discussion), though this is an anecdotal claim without official verification. The store’s official page confirms the fuel station is attached (New World Hutt City), but real‑time prices are not published there.
How to find the latest petrol prices using Petrol Spy
The independent website Petrol Spy (www.petrolspy.nz) tracks fuel prices across New Zealand, including at New World Hutt City. The service refreshes data from user reports and retailer updates. For the most current price, check Petrol Spy before filling up.
Does New World Lower Hutt deliver groceries?
How to set up online delivery from New World Hutt City
- Visit the New World Hutt City store page and click “Shop online”
- Create or log into your account, then add items to your cart
- Choose delivery or click & collect at checkout
- Delivery is available within a defined radius – check eligibility on the site
According to MoneyHub, New World’s delivery fee is a flat $15 for orders under $200 and $10 for orders of $200 or more; click & collect costs $5 (MoneyHub). The store’s own contact page confirms phone support for online orders (New World contact page).
Delivery zones and costs for Lower Hutt
The exact delivery radius for New World Hutt City isn’t publicly listed. However, the store serves the Lower Hutt area – typically within 10–15 km. Shoppers outside this zone will need to use click & collect instead. Fees are as above.
Who owns New World supermarkets in NZ?
The ownership structure of New World Hutt City
New World stores are independently owned and operated. New World Hutt City is owned by Steve and Sarah Williams (as reported by Supermarket News – industry trade publication). They are franchisees within the Foodstuffs North Island co‑operative.
Difference between corporate and franchise ownership
Unlike corporate chains (e.g., Countdown/Woolworths), franchise ownership means the local owner has control over pricing, promotions, and staffing. This can lead to more responsive local offers and community involvement. The co‑operative structure also means profits are reinvested regionally.
New World Hutt City vs the competition – a comparison
Three stores within a 2‑km radius on Waterloo Road, each with different pricing models and perks. Here’s how they stack up.
| Feature | New World Hutt City | Pak’nSave Lower Hutt | Countdown Lower Hutt (Woolworths) |
|---|---|---|---|
| Price tier | Mid‑premium (MoneyHub) | Budget | Mid‑range |
| Fuel station | Yes, attached | No | No |
| Online delivery fee | $10–$15 (MoneyHub) | $12–$18 (varies) | $12 (flat) |
| Owner type | Local franchise (Supermarket News) | Local franchise | Corporate (Woolworths NZ) |
The trade‑off: New World Hutt City gives you fuel savings and a more curated shopping experience, but you’ll pay a bit more for the weekly basics than at Pak’nSave.
Upsides and downsides of shopping at New World Hutt City
Upsides
- Locally owned – supports community jobs
- Fuel station with competitive prices and Clubcard discounts
- Online shopping with delivery or click & collect
- Extended hours (7am–10pm daily)
Downsides
- Generally pricier than Pak’nSave for staple items
- Delivery fees add up ($10–$15)
- Delivery radius may exclude some suburbs
- Self‑checkout prompts may feel intrusive (compulsory receipt printing) (Reddit user report)
The choice ultimately depends on whether you prioritise fuel savings and service or lowest sticker prices.
How to order online from New World Hutt City – step by step
- Go to New World Hutt City’s store page and click “Shop online”.
- If you already have a Clubcard, sign in; otherwise create a free account.
- Browse products – use filters to see weekly specials or sort by price.
- Add items to your trolley and proceed to checkout.
- Choose delivery or click & collect. If delivery, enter your address to check eligibility.
- Select a time slot (delivery windows are bookable two days ahead).
- Pay with credit/debit card or via online banking.
- Wait for your order confirmation and pickup or delivery on the chosen day.
MoneyHub notes that delivery is not available in the South Island except a limited trial (MoneyHub), but Wellington region is fully covered.
What we know for sure – and what remains unclear
Confirmed facts
- New World Hutt City is an operating supermarket in Lower Hutt (New World Hutt City)
- It offers online delivery and click & collect (New World Hutt City)
- It has a fuel station (New World Hutt City)
- It is locally owned under Foodstuffs North Island (Wikipedia – New World (supermarket))
- Owners Steve and Sarah Williams operated a pop‑up store in 2016 (Supermarket News)
- Delivery fees: $15 (under $200), $10 ($200+), click & collect $5 (MoneyHub)
What’s unclear
- Exact fuel price at any given moment (fluctuates daily)
- Which supermarket will be cheapest in 2026 – no firm prediction
- Specific delivery radius and exact fees (may change over time)
- Future pricing strategy under potential regulatory changes
These uncertainties highlight the dynamic nature of grocery pricing and services.
Voices from the community
“The fuel at New World Hutt City has been the cheapest in town for years.”
– Reddit user, r/newzealand (source)
“We’re building a pop‑up shop to keep serving Hutt City during our renovations.”
– Steve and Sarah Williams, owners of New World Hutt City, reported by Supermarket News
“New World delivery is not available in the South Island except via a limited pilot trial.”
– MoneyHub – NZ consumer finance guide
“Prices valid Wednesday 1st to Friday 3rd July 2026 only at New World North Island stores.”
– New World Hutt City Facebook page (Facebook)
New World Hutt City is a community‑anchored supermarket that blends local ownership with the buying power of Foodstuffs. For Lower Hutt shoppers, the choice comes down to priorities: fuel savings and fresh food or absolute lowest price. The implication is clear: if you drive and you’re willing to shop specials, this store likely saves you money overall. If you fill a monthly trolley at Pak’nSave, you’ll probably pay less – but lose the fuel discount and the personal service of a local team.
Related reading: New World Wellington City
youtube.com, reddit.com, reddit.com, instagram.com, newworld.co.nz
Frequently asked questions
What are the opening hours for New World Hutt City?
The store is open 7:00am to 10:00pm every day of the week (New World Hutt City).
Does New World Hutt City have a pharmacy?
No, New World Hutt City does not have an in‑store pharmacy. The nearest pharmacy is located in the Hutt City Shopping Centre a short walk away.
How do I apply for a New World Club Card?
You can sign up online at the New World website (New World) or ask at the customer service desk in store. The card is free and linked to fuel discounts.
What payment methods does New World Hutt City accept?
The store accepts EFTPOS, credit/debit cards (Visa, Mastercard, Amex), cash, and mobile payments like Apple Pay and Google Pay.
Is there a butcher or deli at New World Hutt City?
Yes, the store has a full‑service butcher and a deli counter with fresh meats, cheeses, and prepared foods.
Can I return items bought online at New World Hutt City?
Returns for online orders can be processed in store or via customer service. Perishable items are generally not refunded unless faulty (New World contact page).
Does New World Hutt City sell alcohol?
Yes, the store has a separate liquor section with beer, wine, and spirits, available during licensed hours.
How do I contact New World Hutt City customer service?
Call 04 569 3027 (Gassy – store directory) or visit the contact page on the New World website. For online order queries, use the web chat on the store page.
These answers cover the most common queries about New World Hutt City.