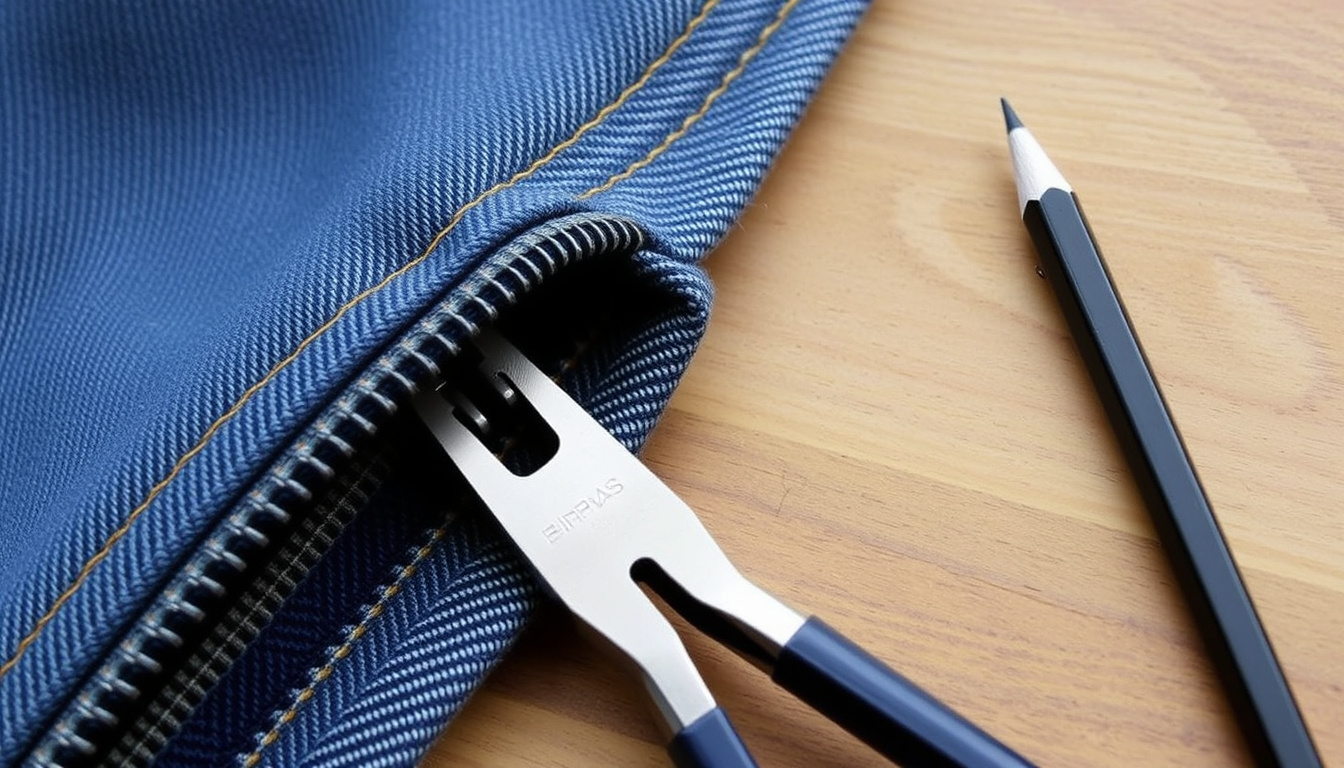
The zipper on your favorite jacket picks the worst moment to fail — usually the morning you’re already late. The good news: a surprising number of zipper problems can be fixed at home without a single stitch, often in minutes.
No-sew fixes: clean, lubricate, realign, tighten · Primary tools: pliers and end nippers · First diagnostic step: identify the zipper type · Splitting zipper: worn slider, not a lubrication problem
Quick snapshot
- Stuck zippers usually free up once trapped fabric or debris is cleared and the slider is moved gently (Popular Mechanics)
- A zipper that keeps splitting open usually has a worn slider that needs replacement, not more adjustment (iFixit’s Zipper documentation)
- A broken top or bottom stop can be removed and replaced to reset or rethread the slider — see the key-facts table below. (Popular Mechanics)
- For some zipper problems, the repair process begins by removing the old slider and installing a correctly sized replacement (Zipper Rescue’s repair FAQ)
- If the zipper won’t stay closed after the no-sew fixes, skip the remaining tweaks and move straight to slider replacement. (Zipper Rescue’s repair FAQ)
- Most no-sew repairs involve cleaning, lubricating, realigning teeth, or tightening the slider — start there before replacing parts (Popular Mechanics)
- If the slider is worn, the next step is replacement; if the failure point sits beyond the slider, that step becomes full zipper replacement. (Popular Mechanics)
Six zipper failures, one pattern: each fix works only when it’s matched to the actual failure.
Outdoor gear maker Patagonia’s care-and-repair guide advises identifying the zipper type before choosing a repair method. That one step separates a five-minute fix from a drawer full of broken zippers.
| Failure or step | Confirmed fix | Source |
|---|---|---|
| Bent or misaligned teeth | Straighten carefully with pliers | Hennepin County’s Choose to Reuse program |
| Loose slider | Pinch the slider sides gently so it grips the teeth | HGTV’s home-repair guidance |
| Broken top or bottom stop | Remove and replace the stop to reset or rethread the slider | REI’s expert repair advice |
| Missing pull tab | Clip or hook on a replacement pull accessory — no sewing | Alpine Trek’s gear-care guide |
| Zipper type unknown | Identify the zipper type first, before choosing a repair method | Patagonia’s care-and-repair guide |
| Stop removal | Use pliers or end nippers rather than sewing tools | REI’s expert repair advice |
Start with a two-minute diagnosis
Before you touch the zipper, decide which failure you’re looking at: a stuck track, a loose slider, a broken stop, a missing pull, or a worn slider. The key-facts table above maps each symptom to the fix that addresses it — and the order you test them in is the difference between a five-minute repair and a broken zipper.
Two questions that separate a quick fix from a replacement job
- Is the zipper stuck, or does it run but split open behind the slider?
- Are the teeth straight, and is the pull tab still attached?
These questions line up with the sources in the table above. A stuck zipper and a splitting zipper can look similar at a glance, but they sit at opposite ends of the repair scale: one is usually a cleaning job, the other a worn slider. The wrong guess is how good zippers end up in the trash.
The pattern: every reliable fix in this guide starts with naming the failure. Name it correctly and you’ll know whether the fix takes five minutes or needs a new part.
Repair vs. replacement: how to decide
iFixit’s Zipper documentation frames the decision cleanly: repairs range from simple slider replacement to full zipper replacement, and the right level depends on the failure point.
Three levels of repair, one dividing line: fix the worn part when you can, replace the zipper when the damage has spread.
| Decision | No-sew repair | Slider replacement | Full zipper replacement |
|---|---|---|---|
| What it addresses | Stuck tracks, bent teeth, loose slider, missing pull | Zippers that split from a worn slider | Failure points beyond the slider |
| Tools required | Pliers, a replacement pull, or careful handling | Pliers or end nippers, a replacement stop, a correctly sized slider | Work beyond the no-sew scope |
| Best signal to choose it | Zipper moves but catches, hesitates, or lost its pull | Zipper runs but won’t stay closed | Slider replacement no longer holds the teeth together |
| Outcome | Working zipper in minutes | Zipper closes and holds again | The long-term fix when the track itself is failing |
The implication: the repair should never outrank the failure. A stuck zipper doesn’t need a new slider, and a worn slider won’t be saved by a new pull tab. Match the level of repair to the level of damage, and the fix sticks.
The zipper repair toolkit, repair by repair
Six repairs, two tools: nearly every no-sew fix comes down to pliers, a replacement part, or knowing when to stop.
| Repair | Essential tool | Key step | Source |
|---|---|---|---|
| Straighten bent teeth | Pliers | Straighten carefully | Hennepin County’s Choose to Reuse program |
| Tighten loose slider | Pliers | Pinch slider sides gently | HGTV’s home-repair guidance |
| Replace pull tab | Replacement pull accessory | Clip or hook on — no sewing | Alpine Trek’s gear-care guide |
| Remove or replace broken stop | Pliers or end nippers | Remove old stop to reset or rethread the slider | REI’s expert repair advice |
| Replace worn slider | Correctly sized replacement slider | Remove old slider, install new | Zipper Rescue’s repair FAQ |
| Avoid forcing a stuck slider | Gentle handling | Forcing can damage teeth or the slider body | wikiHow |
The takeaway: most zipper repairs don’t require a new zipper. They require the right diagnosis, one or two small tools, and the self-control to stop forcing a slider that’s telling you it’s worn out.
The four no-sew fixes that solve most zipper problems
Four moves cover the majority of zipper failures: free the track, tighten the slider, straighten the teeth, replace the pull. Each targets a different symptom, and each takes minutes rather than a trip to the tailor.
Fix 1: Free a stuck zipper
- Clear any trapped fabric or debris from the track.
- Move the slider gently up and down.
The confirmed-facts card above lists this as the first no-sew fix to try. The mistake is speed: wikiHow warns that forcing the slider is a common beginner error that can damage the teeth or the slider body. If the zipper still won’t move after clearing, treat it as a different failure — don’t escalate the force.
Fix 2: Tighten a loose slider
- Pinch the slider sides gently with pliers so it grips the teeth more tightly.
- Test after each pinch.
The key-facts table above maps this fix to a slider that feels loose. If the zipper still won’t stay closed after a light pinch, stop adjusting — that behavior is the worn-slider signal, and it points to replacement rather than more pinching.
Fix 3: Straighten bent or misaligned teeth
- Use pliers to straighten bent or misaligned teeth.
- Slide the zipper slowly to test each tooth.
This one comes from Hennepin County’s Choose to Reuse program in the key-facts table above. The tool is pliers; the instruction is “carefully.” A tooth that’s been snapped off moves the repair from the no-sew column to the replacement column in the comparison above.
A zipper that still won’t move after cleaning and straightening has stopped being a debris problem and become a parts problem. Stop forcing, and start looking at the slider.
Fix 4: Replace a missing pull tab without sewing
- Clip or hook a replacement pull accessory onto the slider.
- No sewing needed — the part does the work.
Alpine Trek’s gear-care guide describes exactly this no-sew swap. It’s the rare zipper repair that needs no tools beyond the replacement part itself.
Replacing the slider: the real fix for a zipper that splits
A zipper that splits open under load is telling you one thing: the slider has lost its grip. That’s the worn-slider failure flagged in the confirmed-facts card above, and it doesn’t respond to lubricant or pinching.
The slider swap, step by step
- Remove the old stop with pliers or end nippers — the toolkit table above lists the tools.
- Remove the old slider and install a correctly sized replacement, per Zipper Rescue’s repair FAQ.
- Replace the stop so the slider stays seated on the track.
- Test the full range. If the zipper still splits, the failure point is beyond the slider — the comparison section above covers that call.
The slider is the wear part here, and the toolkit table above makes the sequence clear: stop removal first, then the swap, then a new stop to lock everything in place.
A splitting zipper is the one failure where the cheap fixes stop being cheap: every forced pass of a worn slider can damage the teeth further, turning a slider swap into a full zipper replacement.
The trade-off: a slider swap takes longer than the no-sew fixes, but it’s the only repair that addresses the actual worn part. If the zipper still splits afterward, the decision moves to full replacement — the comparison above.
What’s confirmed and what’s still unclear
Zipper repair advice is more consistent than most DIY topics — and still leaves real gaps. Here’s where the sources agree and where they stay silent.
Confirmed fixes
- Bent or misaligned teeth can be straightened carefully with pliers (Hennepin County’s Choose to Reuse program)
- A loose slider can be pinched so it grips the teeth more tightly (HGTV’s home-repair guidance)
- Clearing trapped fabric or debris and moving the slider gently frees stuck zippers (Popular Mechanics)
Still unclear or lightly sourced
- wikiHow’s warning that forcing the slider is a common beginner mistake is repeated across the web but anecdotal — no controlled test backs it.
- The exact wear threshold of a slider is invisible; no guide reviewed here offers a measurement, only the symptom of splitting to prompt replacement.
- The best lubricant for a sticky zipper is a judgment call; the guides reviewed here treat lubrication as a category, not a controlled comparison.
- How much force is too much on a stuck slider is never quantified — the consistent advice is simply “gently.”
The gap: the fixes are well documented, but the edges are fuzzy. No source here tells you how to measure a worn slider or how to compare lubricants head-to-head, so the practical rule is to test carefully and escalate only when the symptom says so.
What the repair guides actually tell you
Two voices echo across the repair guides: know what you’re working on, and accept when the part is done.
Identify the zipper type first, before choosing a repair method.
If a zipper keeps splitting open, the slider is often worn and may need replacement rather than further adjustment.
The consensus: diagnosis first, force never, and replacement when the symptom is clear. That combination is the whole repair playbook.
What your zipper repair comes down to
Most zipper repairs are not really about zippers. They’re about reading the symptom correctly: stuck means clean it, loose means pinch it, split means the slider is worn, and beyond that means the whole zipper is at the end of its service life. For anyone with a drawer of otherwise-good jackets, the choice is clear: learn the no-sew fixes and the slider swap, or watch a worn slider turn a ten-minute repair into a full zipper replacement.
Frequently asked questions
Q: Can I fix a zipper without sewing?
A: Yes. Most common failures — stuck tracks, bent teeth, loose sliders, and missing pulls — have no-sew fixes using pliers, a replacement pull accessory, or careful handling, as shown in the fixes above.
Q: Why does my zipper keep splitting open?
A: A zipper that splits under normal use usually has a worn slider. The confirmed-facts card above and the quotes section both point to slider replacement rather than further adjustment.
Q: How do I fix a stuck zipper?
A: Clear any trapped fabric or debris from the track, then move the slider gently up and down. Avoid forcing it: that can damage the teeth or the slider body.
Q: Can I use pliers on a zipper?
A: Yes, carefully. Pliers straighten bent teeth and pinch a loose slider back into grip, as the toolkit table above shows.
Q: How do I replace a zipper pull without sewing?
A: As Fix 4 above shows, clip or hook a replacement pull accessory onto the slider — no sewing required.
Q: When should I replace the whole zipper instead of repairing it?
A: When the failure point is beyond the slider. If a replacement slider still doesn’t hold the zipper closed, the comparison table above points to full zipper replacement.
Q: What tools do I need for common zipper repairs?
A: Pliers and, for stop removal, end nippers. Slider swaps also need a correctly sized replacement slider.